
How to Configure the Security Policies and HTTP Response Headers
In this section, we will show how to configure Sitefinity CMS that comes with a set of predefined security policies. The Web security module reads the configuration for each security policy and sets the value of the corresponding HTTP response headers. This feature is upgraded to Sitefinity versions 11.0 and above.
When configuring the security policy for Sitefinity CMS website, you can define the Content-Security-Policy HTTP response header for different types of content. The value of the Content-Security-Policy contains one or more directives that define the valid sources for each type of content.
When setting the Content-Security-Policy HTTP header, Sitefinity backend stopped working, issuing some errors in the JavaScript console on the browser.
Follow These Steps to Fetch Records that are Given Below:
Step 1: Go to the Administration >> Modules & Services and check if the Web Security module is activated or deactivated. If the Web Security module is deactivated, then first activate this module, after that, follow these steps to configure external resources on the website.
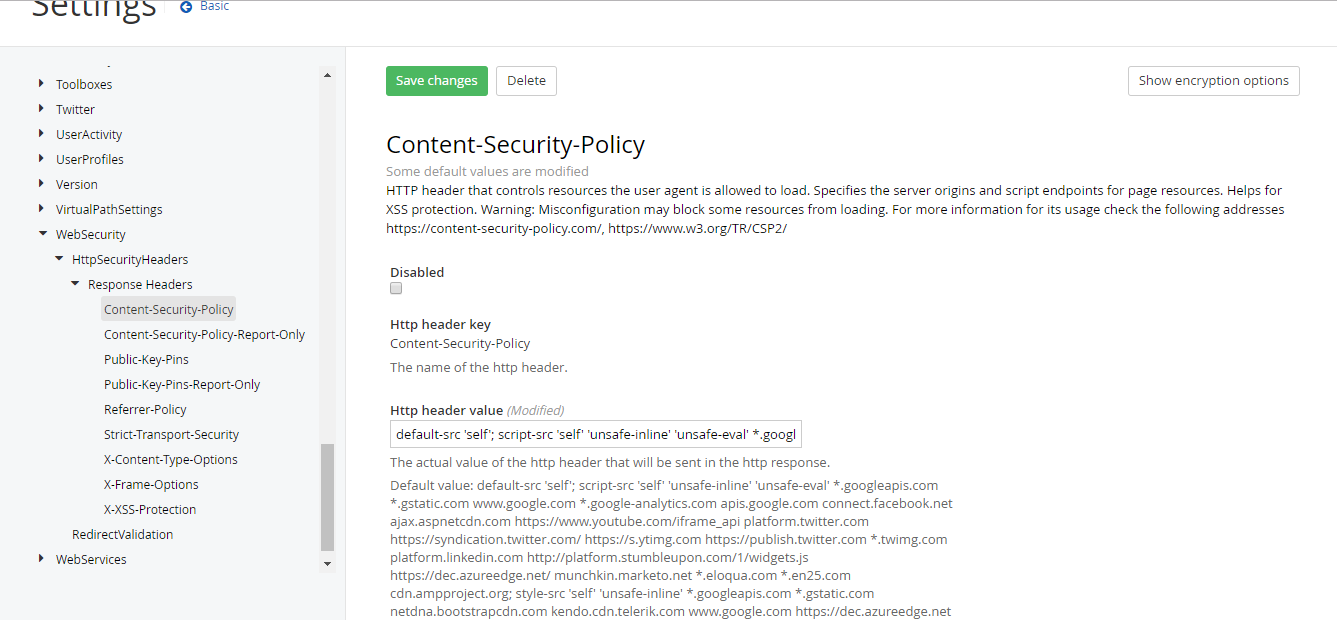
Step 2: Navigate to Administration » Settings » Advanced » WebSecurity » HttpSecurityHeaders » Response Headers » Content-Security-Policy
Your default configuration displays like this.
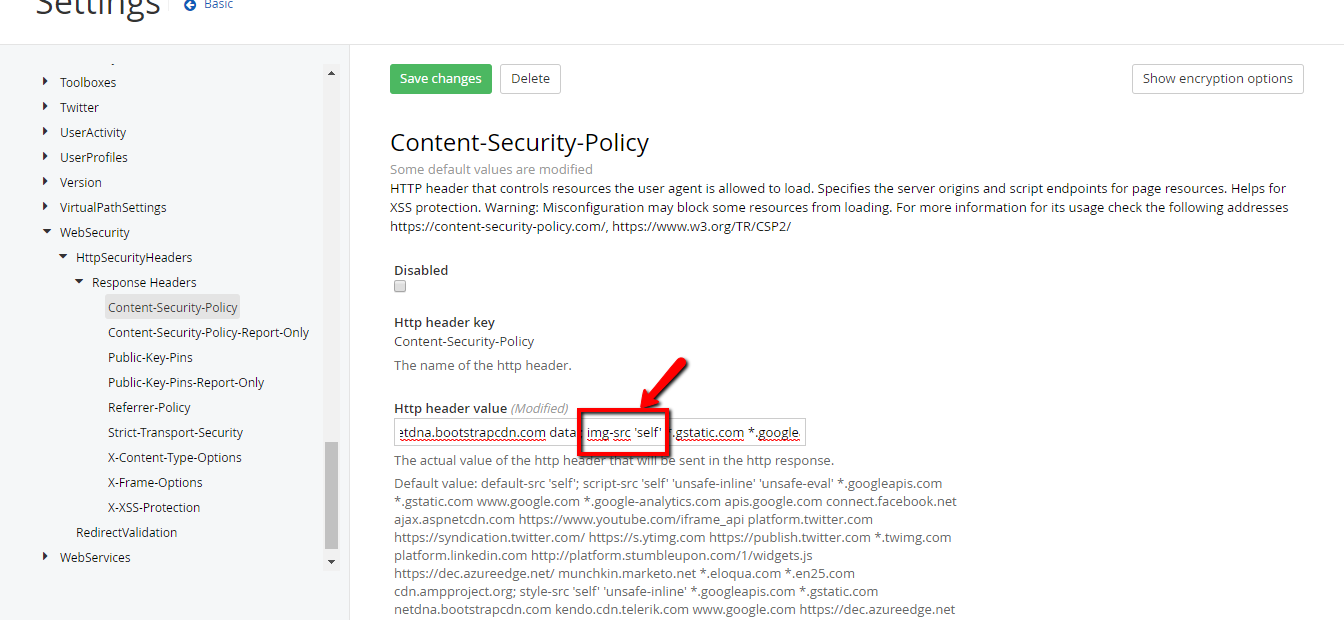
Step 3: Now we have to implement a demo for an external image.
Image source in HTTP header value will display like this ‘img-src ‘self’
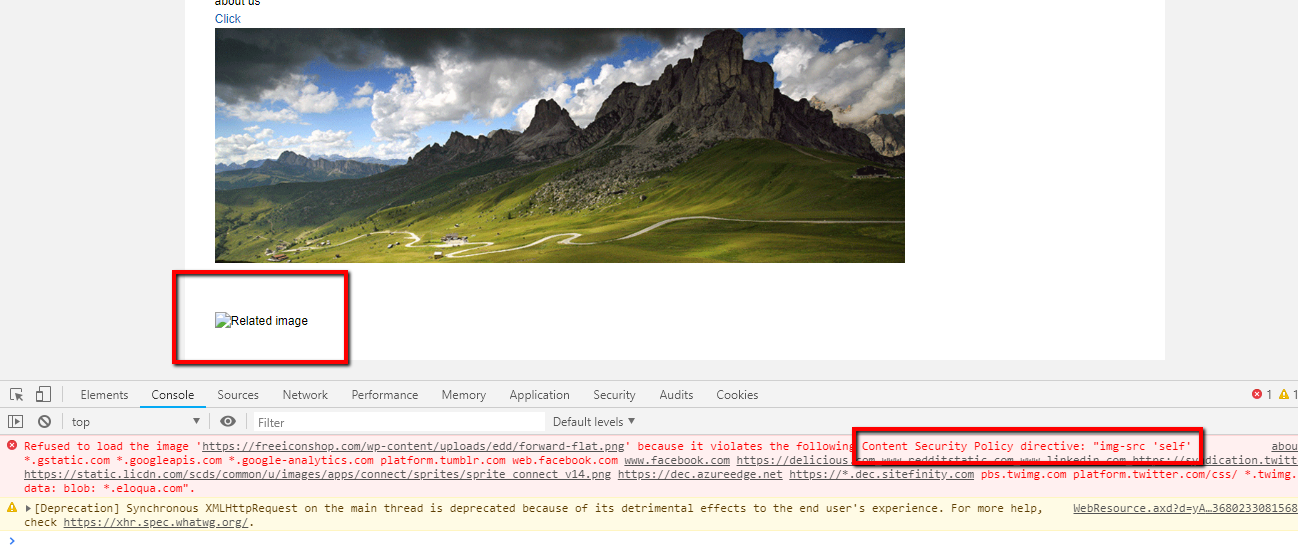
Step 4: Now check on Frontend, the images are not loaded properly because there are Content Security Policy directive: “img-src ‘self’ error.
To fix this error, please follow Step 5 as given below:
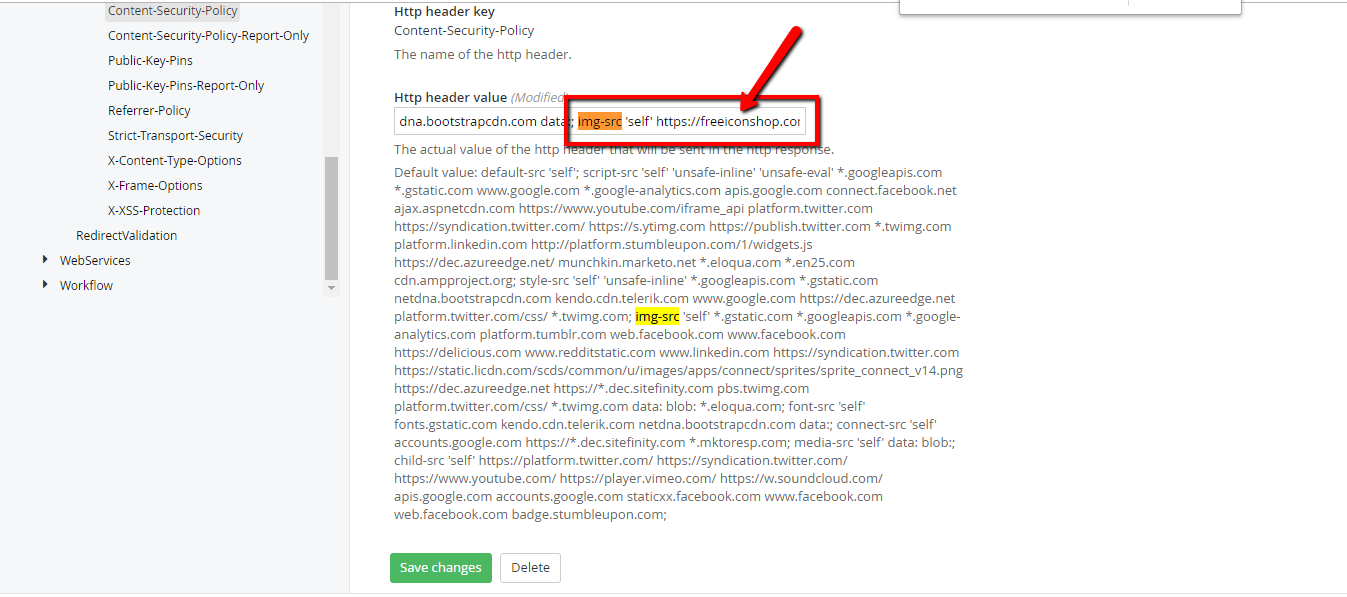
Step 5: Navigate to Administration » Settings » Advanced » WebSecurity » HttpSecurityHeaders » Response Headers » Content-Security-Policy
Add the domain name (like as: https://freeiconshop.com) to the right after “img-src ‘self’
Step 6: After adding the domain Image source in HTTP header value will display like this
‘img-src ‘self’ https://freeiconshop.com/ *
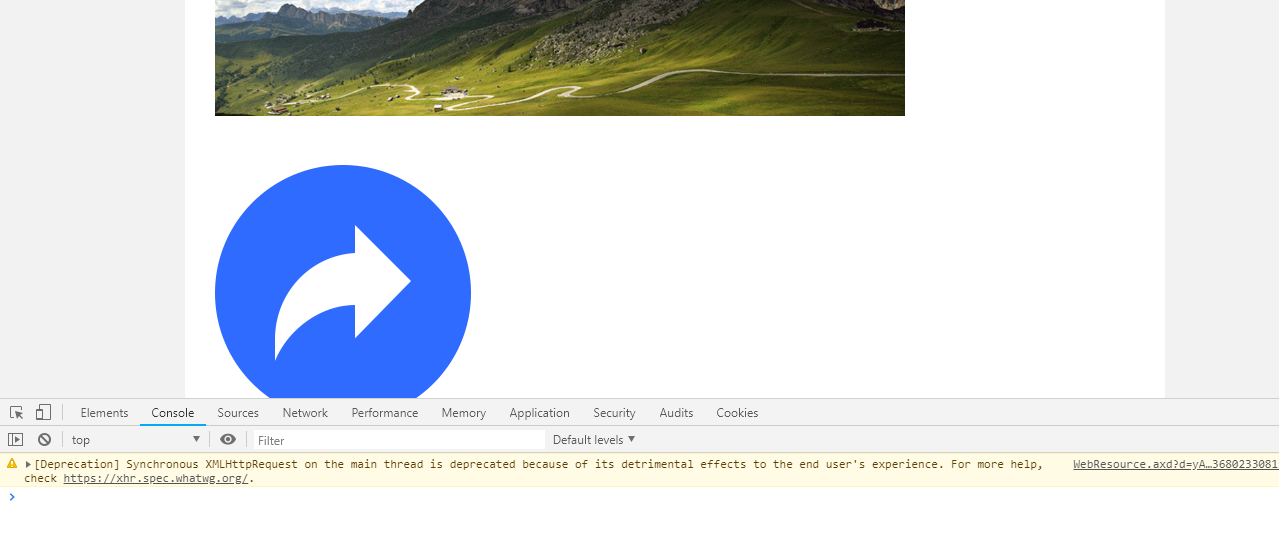
Step 7: After Save changes in the HTTP header value images loaded perfectly.
Also Read: Get to Know the Latest Features of Sitefinity 11.2 Release
Contributed By:
Arunodaya Kumar